Set Up Your WhatsApp Business Account
A dedicated WhatsApp Business API (WABA) number is required. Our team handles the full registration, verification, and template approval process for you.
- Register for WhatsApp Business API
- Configure message templates for queue notifications
- Set up company information and verified business profile
- Connect WABA to QueueSystem.my portal
Configure Your Web Portal
Log in to q.queuesystem.my/webportal to configure your queue system — service types, operating hours, staff accounts, and more.
- Fill in company information and branch details
- Set up WABA template code
- Configure queue request hours and limits
- Create staff accounts with role-based access
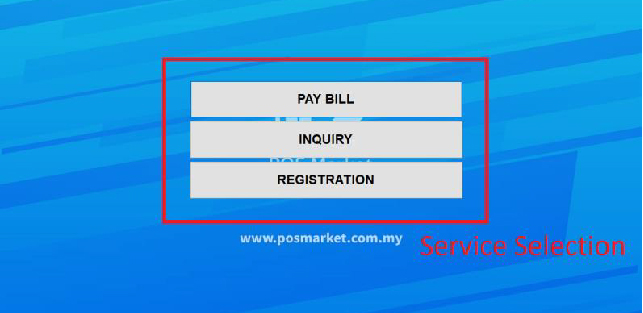
Deploy Your QR Code
Download your unique QR code from the portal and display it at your entrance, counter, or waiting area. Customers scan and join the queue instantly.
- Generate unique QR code per service type or branch
- Print on A4, A3, or display on a tablet/TV screen
- Customers select service type on their phone
- Automatic WhatsApp queue number assignment
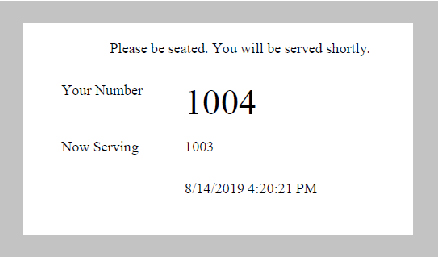
Manage & Call Customers
Staff use the Queue Control panel in the web portal to call the next customer. The system automatically sends a WhatsApp notification with the counter number.
- Queue request confirmation sent on ticket assignment
- Calling notification sent when counter calls number
- Recall feature if customer misses their turn
- All activity logged in real-time KPI dashboard
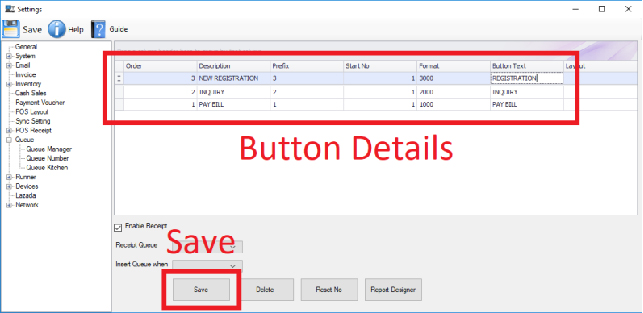
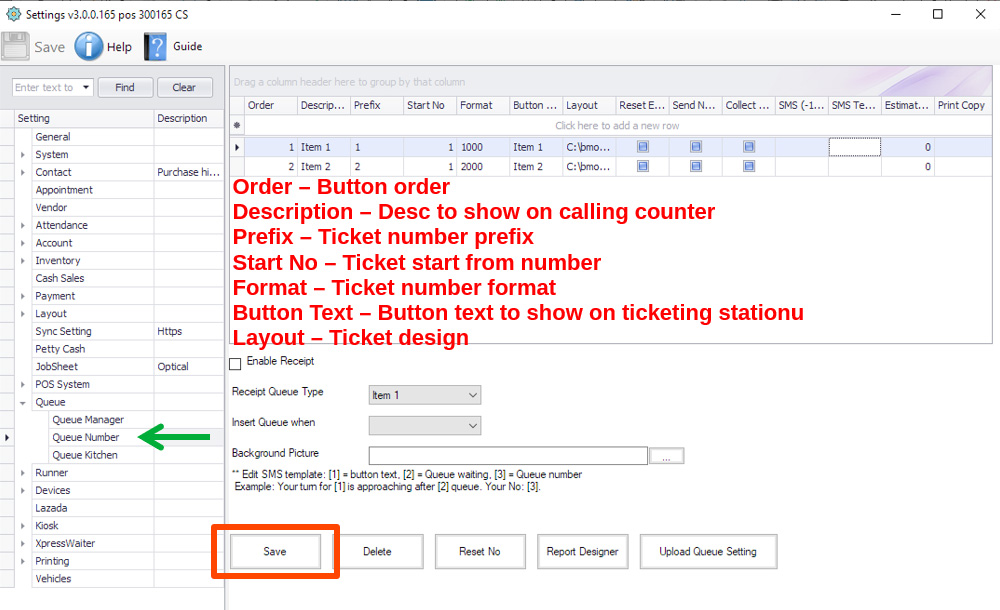
Set Up Queue Number Station
Configure the ticket dispenser service buttons so customers can select their service type and receive the correct queue ticket.
- Open BMO Client Software → Settings
- Go to Queue → Queue Number
- Create new Queue Buttons with service names
- Repeat for each service type, then Save
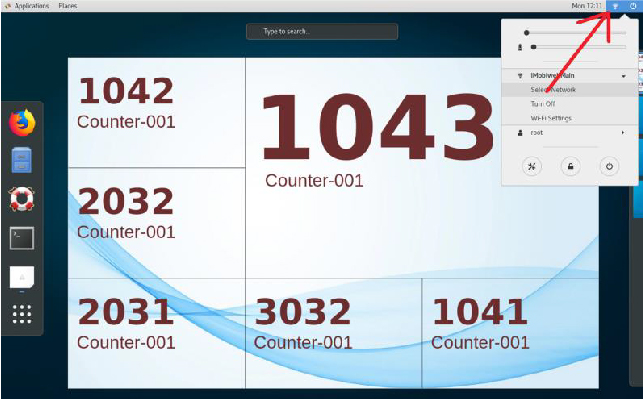
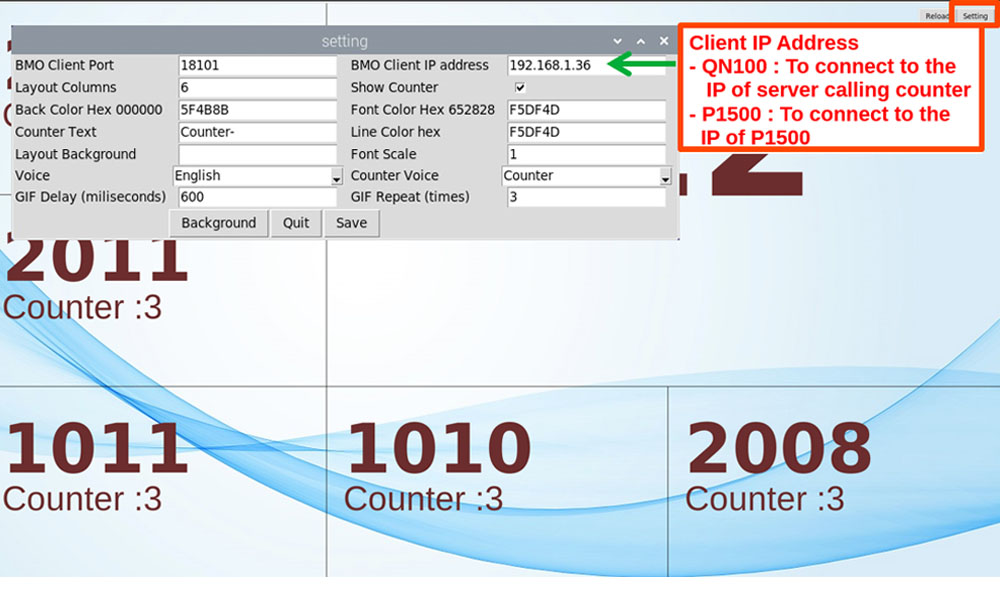
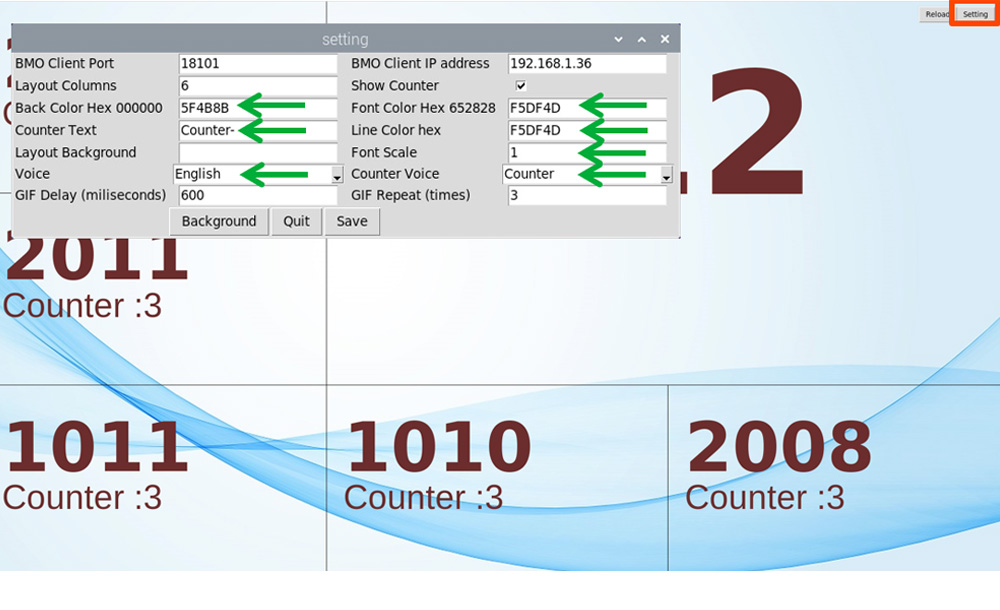
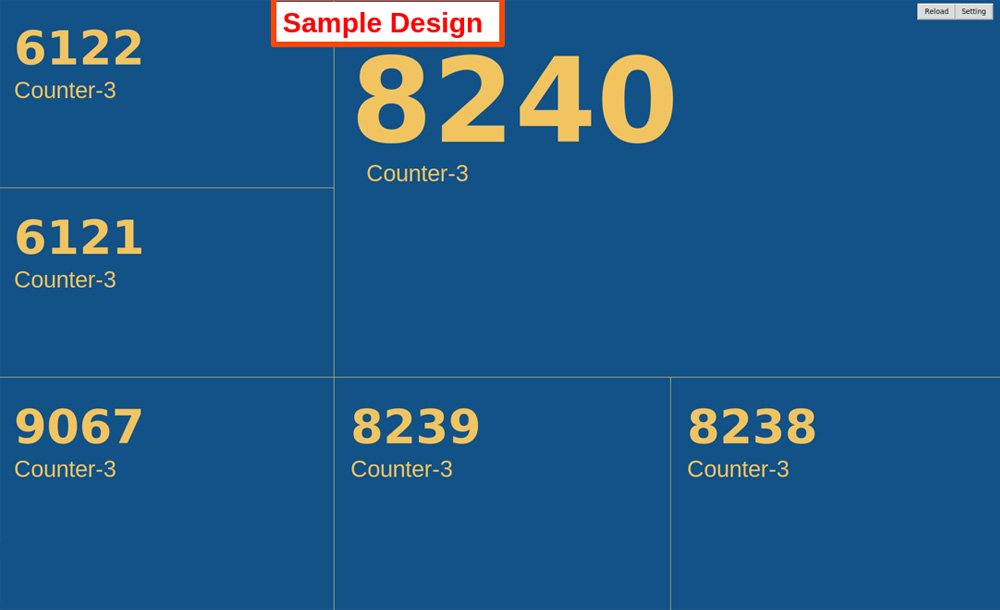
Connect Queue Display to TV
Plug the QD-100 into your TV via HDMI, connect to WiFi, and point it to your Queue Manager server IP address.
- Connect QD-100 to TV via HDMI cable
- Connect to local WiFi network
- Set BMO Client Port to 18100
- Enter Queue Manager device IP address
- Save and restart — display goes live
Set Up Queue Manager on Each Counter
Install or open the Queue Manager software on each counter PC. Staff log in and start calling customers immediately.
- Install BMO Queue Manager on counter PC
- Log in with assigned counter credentials
- Press NEXT to call next customer
- Use PUSH to transfer to another counter
Healthcare Multi-Stage Queue
A patient visits the clinic, collects ticket A-01 at the dispenser. After seeing the doctor, they need to proceed to pharmacy. The doctor's counter pushes A-01 directly to the pharmacy queue — no new ticket, no re-queuing.
- Patient collects one ticket for the entire visit
- Doctor clicks "Push" and selects Pharmacy counter
- A-01 appears at the pharmacy queue automatically
- Patient receives WhatsApp update (if using WhatsApp QMS)
Banking Multi-Counter Transfer
A customer visits a bank for account opening. After the initial counter processes their form, they need to see a manager. The counter pushes the customer directly to the manager's queue.
- Customer takes one number from dispenser
- Counter staff completes initial processing
- Push to Manager Queue with one click
- Manager's screen shows the customer's number
Have a question not answered here?
Ask Our Support Team